Menu
- Preparing Ingredients
- Preparing the Ingredients
- Cooking Steps
- 1. Parboil the Taro
- 2. Sauté the Garlic
- 3. Braise the Taro
- 4. Season the Dish
- 5. Simmer the Taro
- 6. Finish the Dish
- Enjoying the Dish
- Tips for a Better Soy Sauce Braised Taro
- Why is Soy Sauce Braised Taro Popular?
- Variations of Soy Sauce Braised Taro
- Conclusion
- FAQ (Frequently Asked Questions)
Are you looking for a simple yet nutritious vegan dish? Soy sauce braised taro is the perfect suggestion for you! With the rich flavor of soy sauce combined with the creamy texture of taro, this dish is not only easy to make but also ideal for family meals or vegetarian days.
 Soy sauce braised taro dish
Preparing Ingredients
To make delicious soy sauce braised taro, you will need the following ingredients:
- Taro: 500g (choose medium-sized, undamaged tubers)
- Soy sauce: 3 tablespoons
- Sugar: 1 tablespoon
- Cooking oil: 2 tablespoons
- Green onions: 2 stalks
- Fresh chili (optional): 1 piece
- Garlic: 2 cloves
- Seasonings: Pepper, MSG (optional)
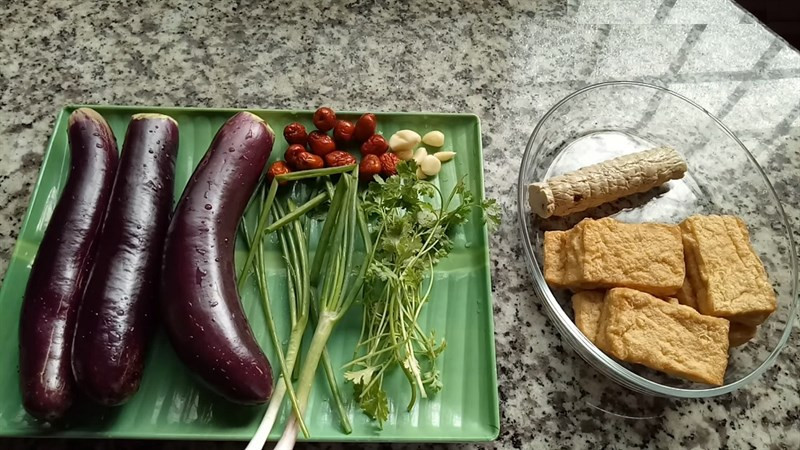
Preparing the Ingredients
- Taro: Peel, wash, and cut into bite-sized pieces (about 2-3cm). Soak the taro in diluted saltwater to prevent discoloration.
- Green onions: Wash and finely chop.
- Fresh chili: Wash and thinly slice if using.
- Garlic: Peel and mince.
 Preparing taro and other ingredients
Cooking Steps
1. Parboil the Taro
Bring a pot of water to a boil, then add the taro and parboil for about 5-7 minutes. This helps reduce itchiness and soften the taro for braising. After parboiling, drain and let the taro dry.
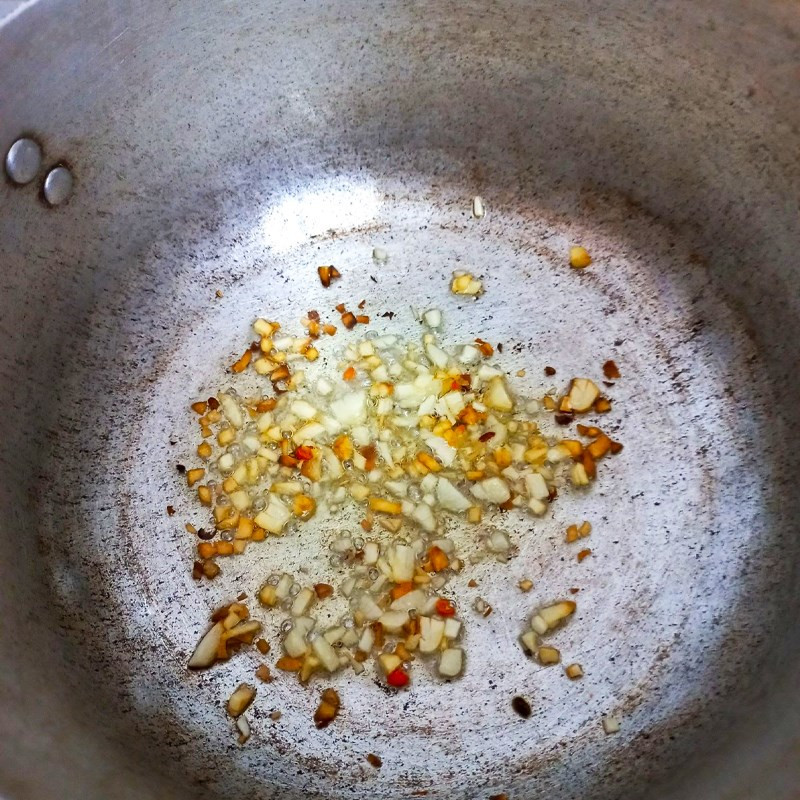
2. Sauté the Garlic
Place a pan on the stove, heat the cooking oil, and sauté the minced garlic until golden and fragrant.
3. Braise the Taro
Add the parboiled taro to the pan, gently stir to slightly firm up the taro and coat it evenly with oil.
4. Season the Dish
Add soy sauce, sugar, and chili (if using) to the pan. Stir well to ensure the seasonings coat each piece of taro evenly.
5. Simmer the Taro
Pour about ½ cup of water into the pan, reduce the heat, and simmer the taro. Simmer until the sauce thickens, and the taro is soft and well-seasoned. Stir gently during simmering to avoid breaking the taro.
6. Finish the Dish
Adjust the seasoning to taste. Finally, sprinkle green onions and pepper on top, then turn off the heat.
 Finished soy sauce braised taro
Enjoying the Dish
Soy sauce braised taro is best enjoyed hot with white rice. You can pair it with cucumber or fresh vegetables to add a refreshing touch to your meal.
Tips for a Better Soy Sauce Braised Taro
- Choose quality taro: Opt for round, firm, undamaged tubers.
- Parboil correctly: Only parboil the taro until just tender to prevent it from breaking during braising.
- Balance the seasonings: Adjust the amount of soy sauce and sugar according to your family’s taste.
According to culinary expert Nguyen Thi Lan Anh: “Adding straw mushrooms or fried tofu skin to soy sauce braised taro will enhance both the flavor and nutritional value of the dish.”
Why is Soy Sauce Braised Taro Popular?
- Easy to make: The recipe is simple and suitable for everyone, even beginners.
- Rich flavor: The creamy texture of taro combined with soy sauce creates a deliciously savory dish.
- Nutritious: Taro is rich in complex carbohydrates, fiber, vitamins, and minerals, beneficial for overall health.
- Light and simple: An ideal choice for vegetarian days or simple family meals.
Nutrition expert Tran Van Nam shares: “Taro not only provides sustained energy but also supports digestion due to its high fiber content.”
Variations of Soy Sauce Braised Taro
- Soy sauce braised taro with tofu: Add fried tofu to the dish for added richness.
- Soy sauce braised taro with mushrooms: Combine with straw mushrooms, shiitake mushrooms, or oyster mushrooms for a unique flavor.
- Vegan soy sauce braised taro: Use vegan soy sauce and other vegan ingredients to suit a vegan diet.
Cooking tip from Chef Le Hoang: “Soaking taro in diluted saltwater immediately after peeling will prevent it from turning black.”
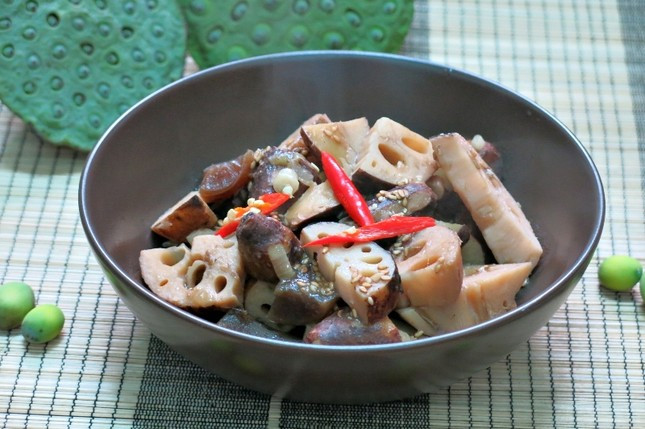
 Variations of soy sauce braised taro
Conclusion
With the detailed recipe and helpful tips shared, we hope you feel confident to cook soy sauce braised taro for your family. This dish is not only simple and light but also highly nutritious, suitable for everyone. Give it a try and don’t forget to share your results with Sổ Tay Món Ăn!
FAQ (Frequently Asked Questions)
Do I need to parboil the taro before braising?
- Yes, parboiling the taro helps reduce itchiness and soften it for braising.
Can I substitute soy sauce with soy paste?
- Yes, but the flavor will be slightly different from traditional soy sauce.
Is it necessary to add sugar to soy sauce braised taro?
- Adding sugar helps balance the flavor, but if you prefer less sweetness, you can omit it.
How can I prevent the taro from breaking?
- Parboil the taro until just tender and stir gently during braising.
Can I store soy sauce braised taro in the refrigerator?
- Yes, the dish can be stored in the refrigerator for about 2-3 days.
Is this dish suitable for vegetarians?
- Yes, it is completely vegetarian.
Can I use other types of taro for soy sauce braising?
- You can use yam or sweet potato, but the flavor will be different.
Thông báo chính thức: Sổ Tay Món Ăn không hợp tác với bất kỳ ai để bán công thức món ăn và cũng không bán ở bất kỳ kênh nào, chúng tôi tổng hợp và chia sẻ công thức nấu ăn miễn phí.
Xin cám ơn!